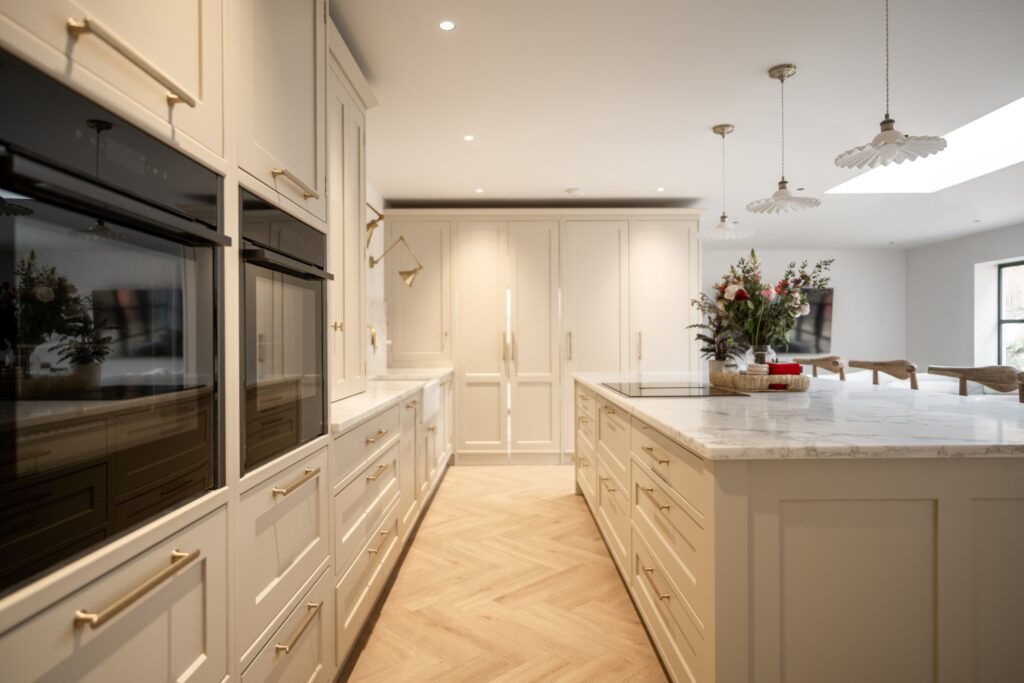
Quick answer: To photograph a kitchen worktop like an interior designer, use natural side-lighting (ideally at golden hour), shoot from a low angle along the surface or directly above for flat-lays, style with three to five carefully chosen props using a less-is-more approach, watch the background for visual clutter, and edit gently. Veined quartz and marble-look surfaces photograph particularly well thanks to the natural movement in the pattern.
You have seen them: those beautiful kitchen spaces photographed for Instagram and Pinterest. The angle is captured perfectly, the surfaces gleam, and the worktop is the main element that ties the entire room together.
Interior designers and experienced home accounts know that the worktop is the visual anchor of any kitchen photograph. It is the largest unbroken surface in the room, and when captured well, it grounds the whole image. Get it wrong, and even the most beautiful kitchen can look flat or cluttered.
The good news is that you do not need a professional camera or a design degree to learn how to photograph a kitchen worktop well. Here are the six rules interior designers and stylists use, drawn from 40 years of seeing stone surfaces in homes across Hertfordshire, St Albans, Welwyn Garden City and Harpenden.
Why the Worktop Is the Anchor of a Kitchen Photo
First, understand the role the worktop plays in the photo. Interior designers treat it as the foundation layer of the image, with everything else (cabinets, pendant lights, cookbooks) sitting above, around or on top of it. The worktop is the element that connects them all.
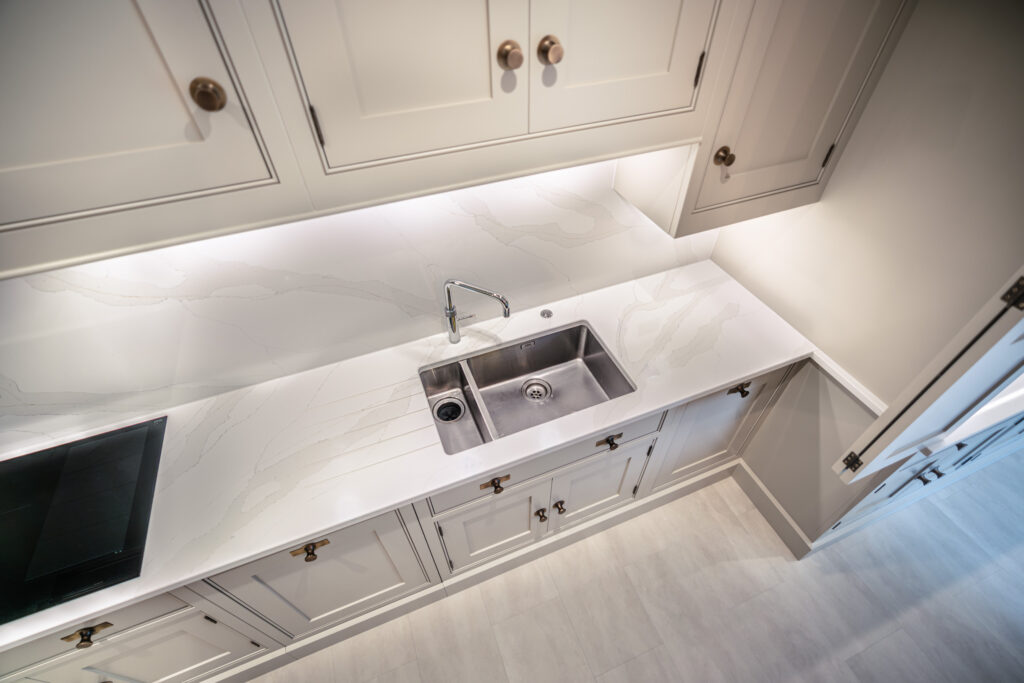
This is why veined quartz and marble-look surfaces photograph so well: they are full of movement, giving the eye something to travel along. A plain worktop can look stark and empty in a photo, but a surface with subtle veining will be picked up beautifully by the camera.
So, when you are composing the perfect shot, think of your worktop as the foundation and everything else as dressing.

What Is the Best Light for Photographing a Worktop?
Lighting is the biggest single difference between a photo that looks professional and one that looks like a property listing. Natural light is your best friend, and when golden hour hits, it produces a warm, directional light that makes stone surfaces glow.
Golden hour is roughly the first hour after sunrise and the last hour before sunset. At these times, your quartz worktop will catch and reflect the light, creating those soft highlights that add dimension to an image. Matte finishes absorb the light differently, producing a quiet, more editorial feel that works beautifully for the modern minimalist aesthetic.
Do not turn on the kitchen spotlights when photographing. They create harsh, flat light with hard shadows that flatten the surface and wash out the natural character of the stone. For an evening shoot, try a single lamp or even candlelight placed to one side of the frame. Side lighting picks up the texture and veining in the stone far better than anything directly above.
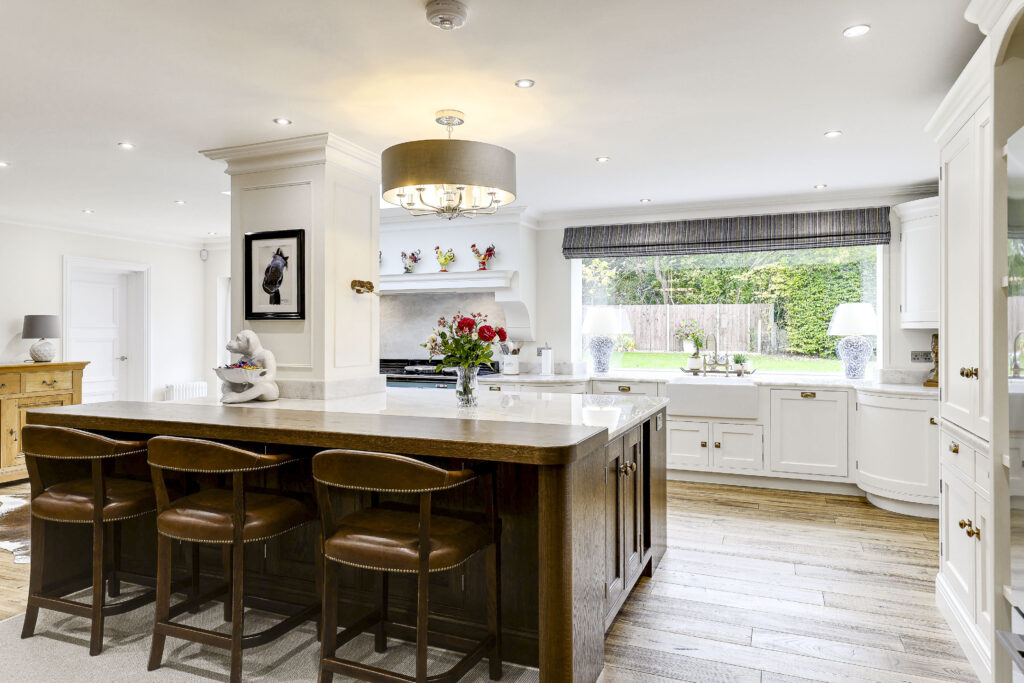
Start with a window shot, positioning yourself so the light falls across the surface rather than straight towards the camera. This cross-lighting is what gives those designer shots their sense of depth.
Which Camera Angles Make a Worktop Look Best?
Getting your angles right changes everything about how your worktop reads in the image. Interior designers tend to favour two angles for worktop-focused photography.
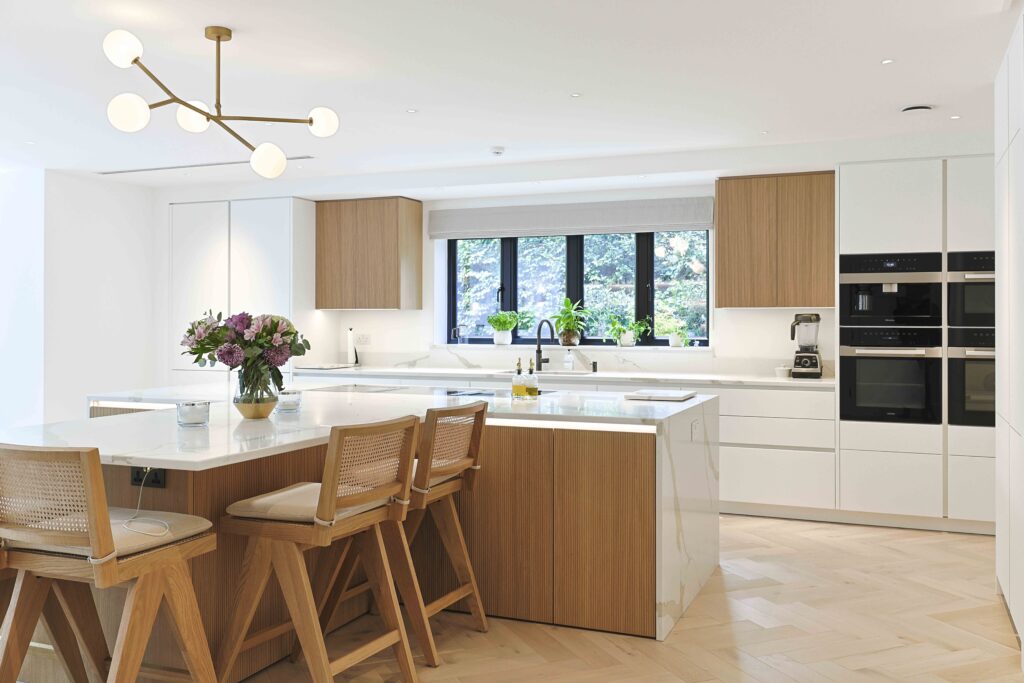
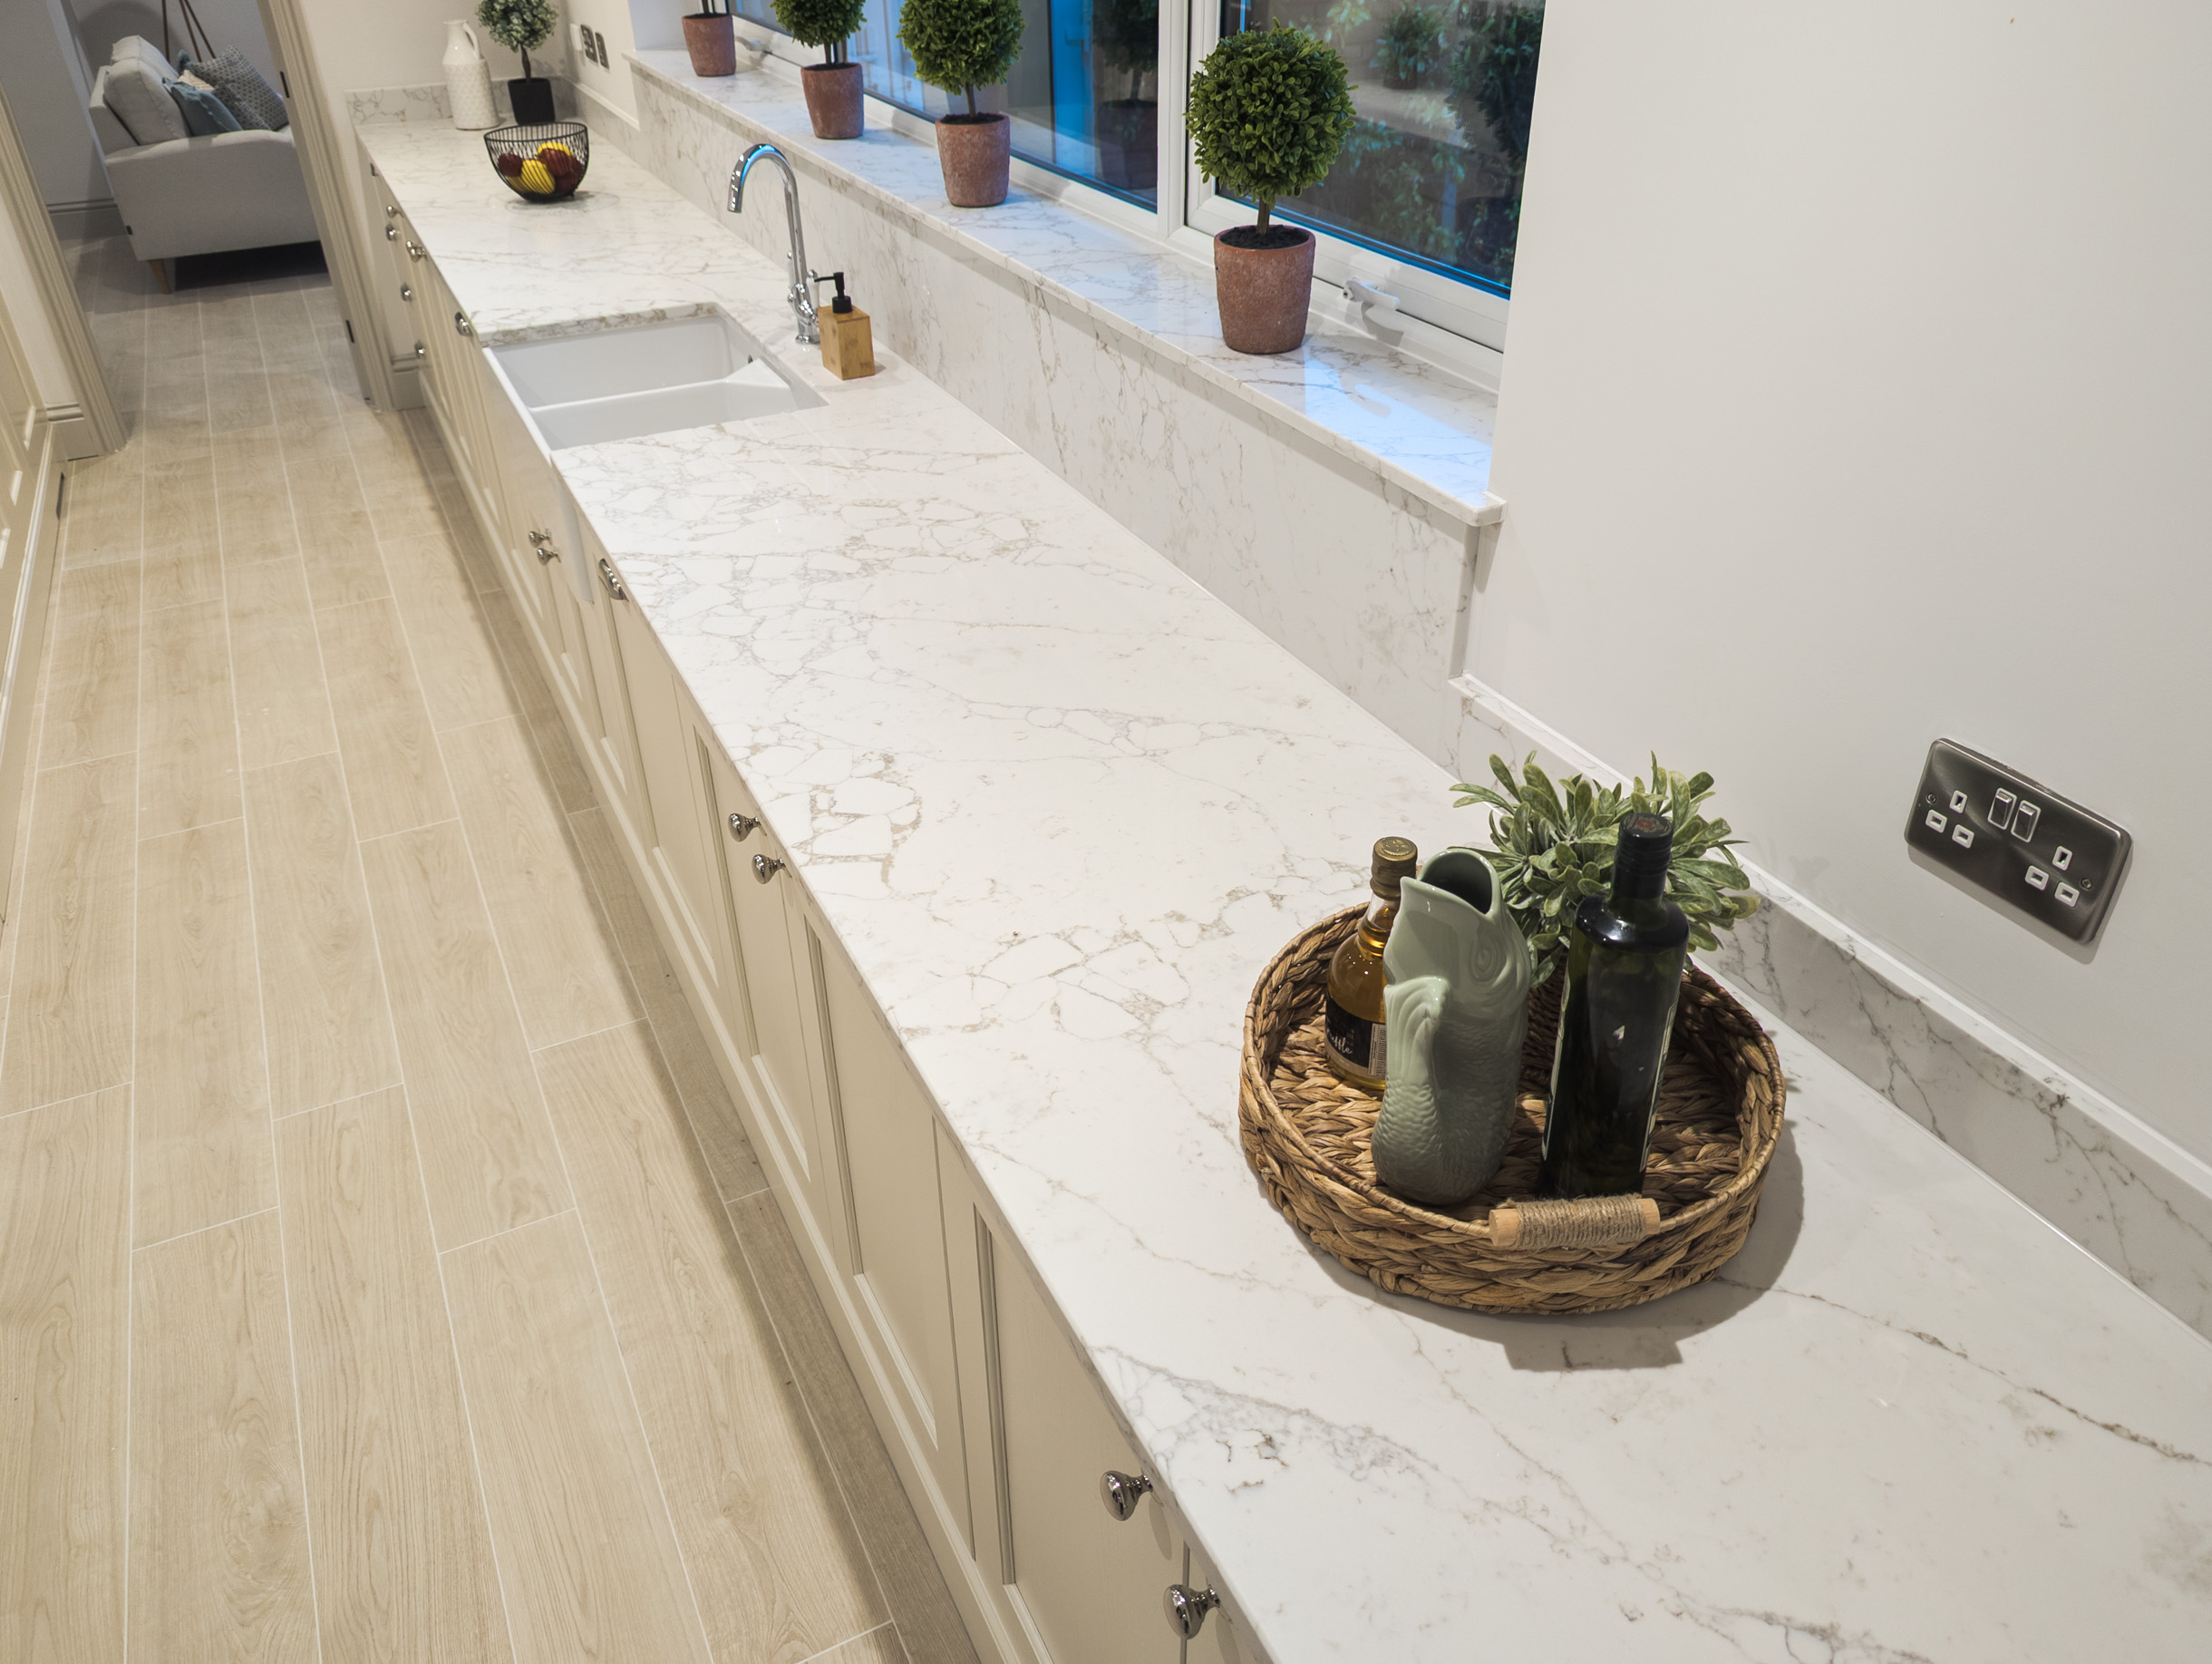
The first is a low angle, roughly worktop height or just above, shooting along the length of the surface. This makes the worktop own the picture, drawing the eye along the stone towards whatever is at the far end.
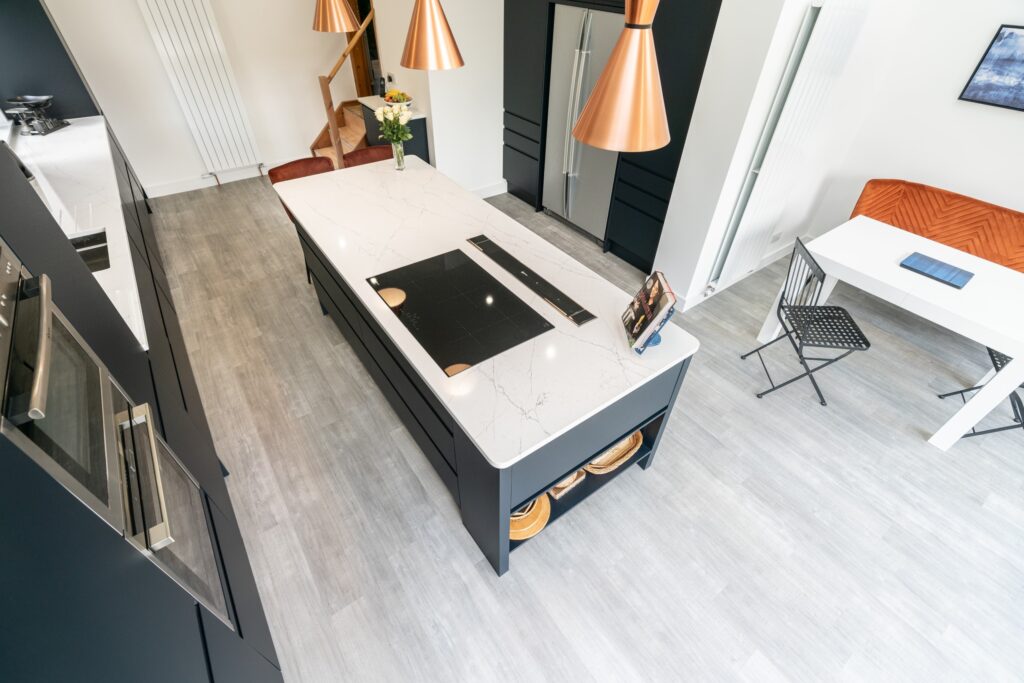
The second is shot directly above, looking straight down onto the worktop (a flat-lay). This works particularly well for styled shots with food and flowers. It turns the worktop into a canvas and lets the surface pattern become a backdrop.

How to Style a Worktop for a Photo (Less Is More)
The temptation is real when you want to fill the worktop with everything that makes your kitchen feel like home: the toaster, the fruit bowl, the chopping boards. Interior designers do the opposite.
Style with the “less is more” approach, carefully choosing three to five items that suggest life without creating visual noise.
- A single vase of greenery or dried flowers, a cookbook laid open or leaning against the splashback, and a decorative bowl. This is the classic editorial setup.
- A wooden chopping board with some fresh ingredients and a bottle of olive oil. This is the lifestyle shot for someone who enjoys cooking.
- A favourite mug of coffee with a few coffee beans scattered to the side. This is the quiet morning shot, warm and inviting.
The key is texture and contrast. Wooden boards, ceramics and fresh greenery all contrast beautifully against the cool, smooth surface of a quartz worktop.

Why the Background Makes or Breaks a Worktop Photo
The worktop might be your focal point, but it is what sits behind that will either support the image or ruin it. Check for distracting elements: washing-up liquid bottles, plug sockets at awkward heights, cluttered open shelving, a bin in the corner of the frame. You do not need to redecorate; you just need to move the visual clutter out of the shot.
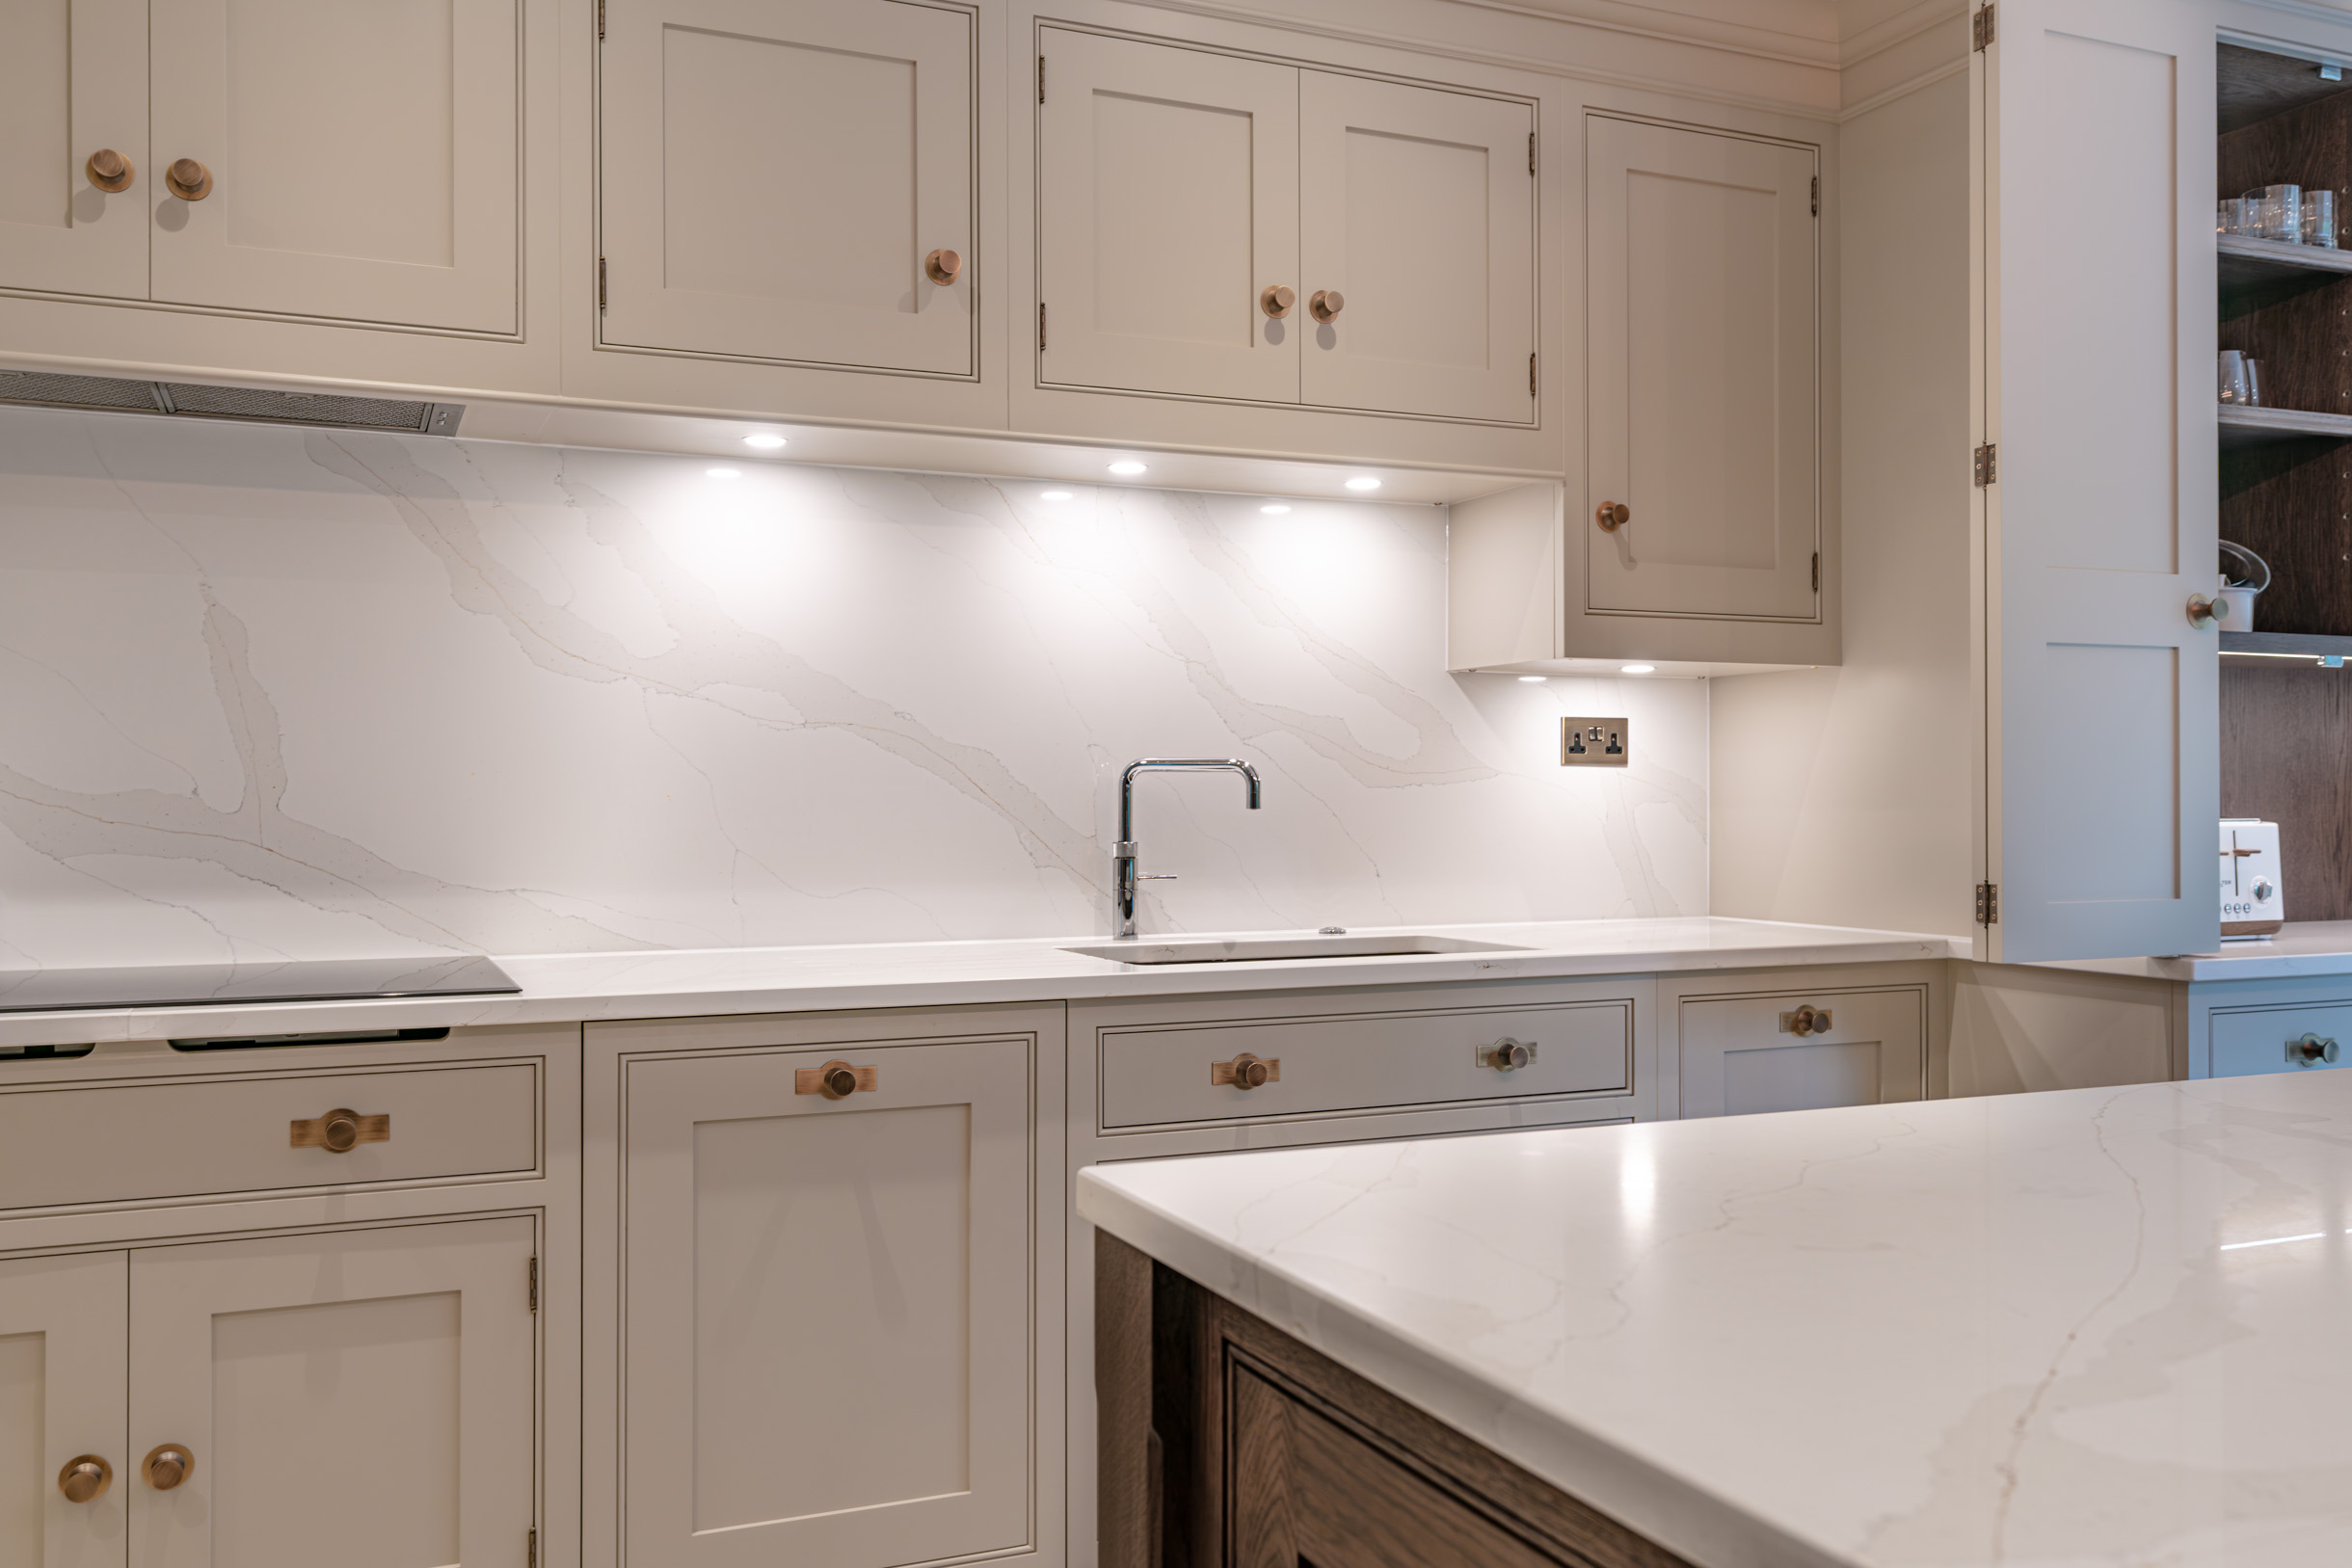
If your kitchen has a strong splashback with complementary tiles or a matching stone, a clean background grounds the composition and stops the eye from wandering out of the frame.
How Should You Edit a Kitchen Worktop Photo?
Before posting, images are often enhanced by soft editing. If the image is a little dark, increase the exposure slightly and lift the shadows to bring out detail in the stone surface.
Avoid heavy filters, strong colour grading or cranking up the saturation. Over-editing can change how the material reads on screen, which is misleading to anyone considering a similar surface for their own home. The beauty of a well-chosen stone surface is in its natural colour and movement, so let the stone speak for itself.
Photographing a kitchen worktop, at a glance:
- Light: natural daylight from a side-on window; golden hour for warm, directional tones
- Avoid: kitchen spotlights and overhead ceiling lights (flat, harsh, washes out veining)
- Best angles: low along the surface for depth, or straight down for a flat-lay
- Styling: 3-5 props maximum, mix textures (wood, ceramic, greenery, fresh ingredients)
- Background: clear away clutter, bottles, plug sockets and bins out of frame
- Editing: soften shadows, lift exposure gently; avoid heavy filters and saturation
Frequently Asked Questions About Photographing a Kitchen Worktop
What is the best time of day to photograph a kitchen worktop?
Golden hour, the first hour after sunrise and the last hour before sunset, gives the warmest, most directional natural light. The low angle of the sun creates soft highlights and shadows that reveal the depth and movement in veined quartz and marble-look surfaces. Mid-morning and mid-afternoon also work well; midday tends to produce flatter, harsher light.
Should I use kitchen lights when photographing the worktop?
No. Kitchen spotlights and overhead ceiling lights produce harsh, flat light that washes out veining and creates hard shadows on the surface. Switch them off and rely on natural daylight from a side-on window. For evening shoots, use a single lamp or candlelight placed to one side of the frame to create cross-lighting that picks up the stone’s texture.
What camera angle works best for kitchen worktop photos?
Two angles work best. A low angle at roughly worktop height, shooting along the length of the surface, draws the eye along the stone and lets the worktop dominate the frame. A flat-lay angle, shooting directly down onto the surface, turns the worktop into a canvas and works beautifully for styled shots with food, flowers and props.
How do you style a kitchen worktop for Instagram?
Use a less-is-more approach: three to five carefully chosen items that suggest life without creating visual noise. Mix textures, such as a wooden chopping board, a ceramic vase with greenery, fresh ingredients and an open cookbook. Avoid stacking the worktop with appliances. Keep the background clean by moving bottles, plug socket clutter and bins out of frame.
Which quartz surfaces photograph best?
Veined quartz surfaces photograph far better than plain solid colours because the camera picks up the layered pigment and movement in the stone. Marble-look quartz with bold veining (such as Calacatta and Statuario styles) tends to be the most photogenic. Polished finishes reflect light dramatically; matte finishes create a softer, editorial mood. Both work beautifully on camera.
Related blogs
Kitchen Lighting for Quartz Worktops: A Designer’s Guide
Insta-Style: How to Keep Your Worktops Looking Good Through the Camera Lens
Living with Quartz Worktops: 7 Habits Every Owner Picks Up
Are Quartz Worktops Durable Enough for a Busy Kitchen?
40 Years in Stone: How Worktop Fabrication Has Changed Since 1986
What’s Changing in the World of Worktops
If this blog has you imagining kitchen life with a bold, impressive surface, Cawdor Stone Gallery can help with your next project. Book a showroom appointment to view our full range of stone surfaces and choose the centrepiece of your kitchen, both in life and on camera.
About Cawdor Stone Gallery. A family-run stone specialist with 40 years of experience supplying and fitting quartz, granite, marble, sintered stone and porcelain worktops across Hertfordshire, St Albans, Welwyn Garden City, Harpenden, Stevenage, Barnet and the surrounding areas. Visit our showroom to see full-size slabs in person.